11 December 2020

An energy-efficient home begins with reducing drafts by plugging air leaks. A drafty house can lead to multiple problems for homeowners, like letting in water, driving up your heating bill, and causing excessive condensation conducive to mold growth.
While well-sealed doors and windows are part of the solution, the garage poses its own set of challenges because it has the largest opening in a home: the garage door. Weather-sealing the garage door on all sides, what we call perimeter weatherstripping, is of the utmost importance to prevent air leaks and water from seeping in. But you are in luck! In this article, Garex gives you instructions on how to maintain your perimeter weatherstripping and replace them when needed.
PERIMETER WEATHERSTRIPPING
Perimeter weatherstripping plays a crucial role in plugging leaks in your garage door. Beyond preventing air and humidity from coming in both in winter and summer, perimeter weatherstripping blocks the passage of dust, insects and nasty rodents.
Garage door perimeter weatherstripping consists of PVC (polyvinyl chloride) slats installed around the perimeter, at the top and sides, and a flexible u-shaped rubber weatherstripping at the base of the door. To ensure their longevity, Garex recommends that you examine them regularly and lubricate them once every 3 months with a silicone-based lubricant.
HOW TO CHOOSE PERIMETER WEATHERSTRIPPING
Did you know that dark PVC weatherstripping is more likely to warp and discolor when exposed to the sun for long hours?
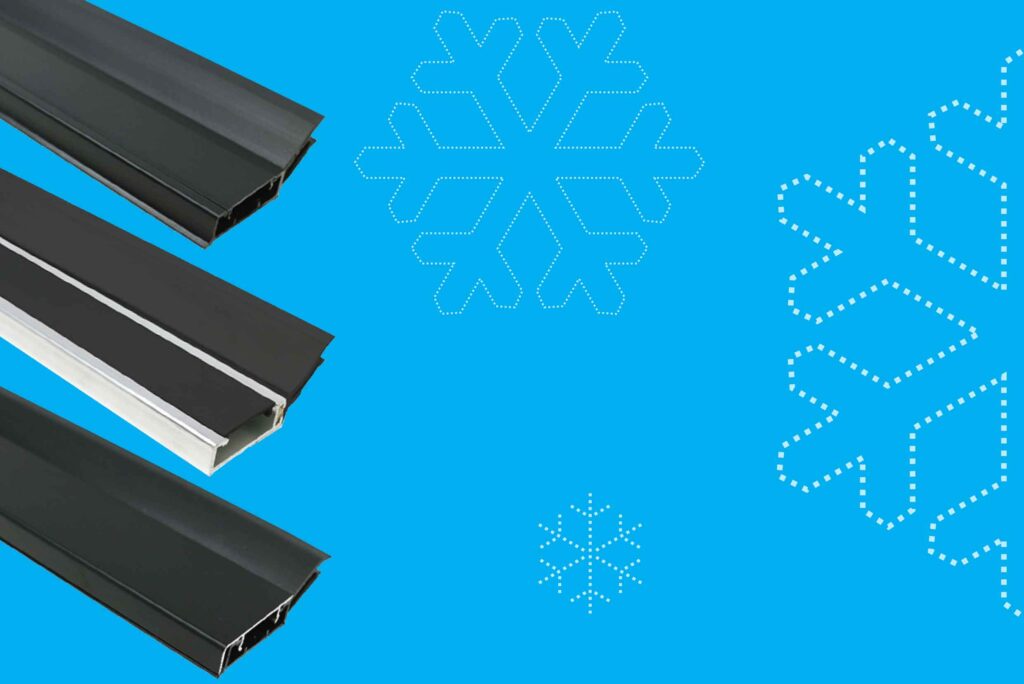
If you want a product that is more resistant to the sun and has a high-end finish, then hybrid weatherstripping is for you. Garex offers a hybrid product that combines PVC blades and an aluminum screw cover, which can even be painted to match your garage door.
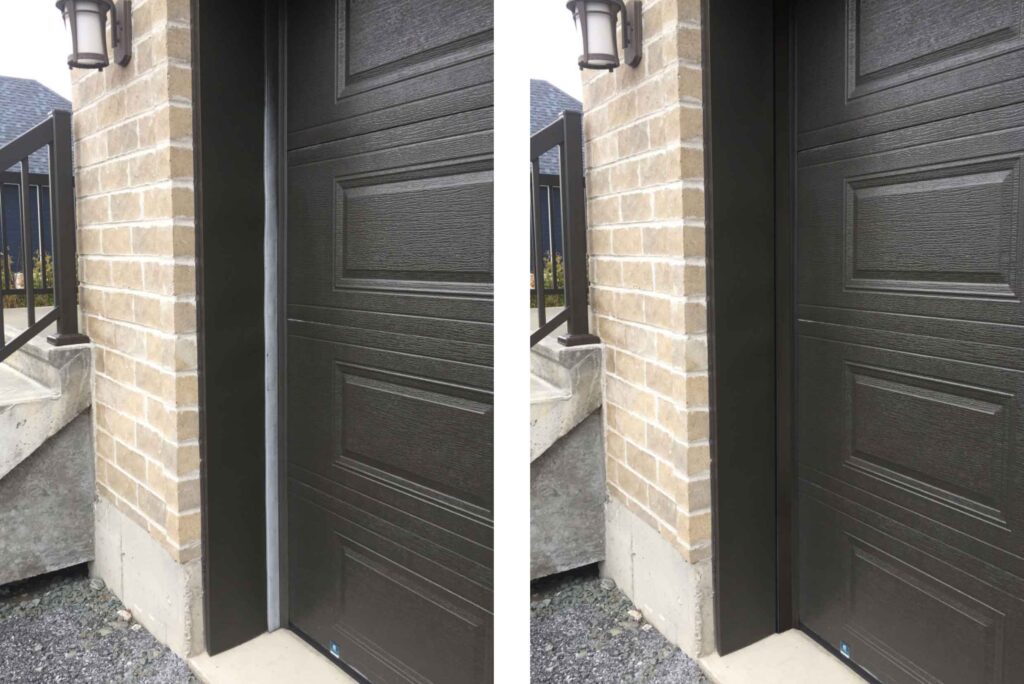
The photo on the left shows a PVC weatherstripping that has faded in the sun. The image on the right presents the newly installed hybrid weatherstripping. Using this product is a great way to extend the life of your garage door while reducing air leaks.
HOW TO MAINTAIN PERIMETER WEATHERSTRIPPING
Weatherstripping maintenance consists of cleaning off debris and restoring flexibility to the PVC slats which, allows them to become airtight.
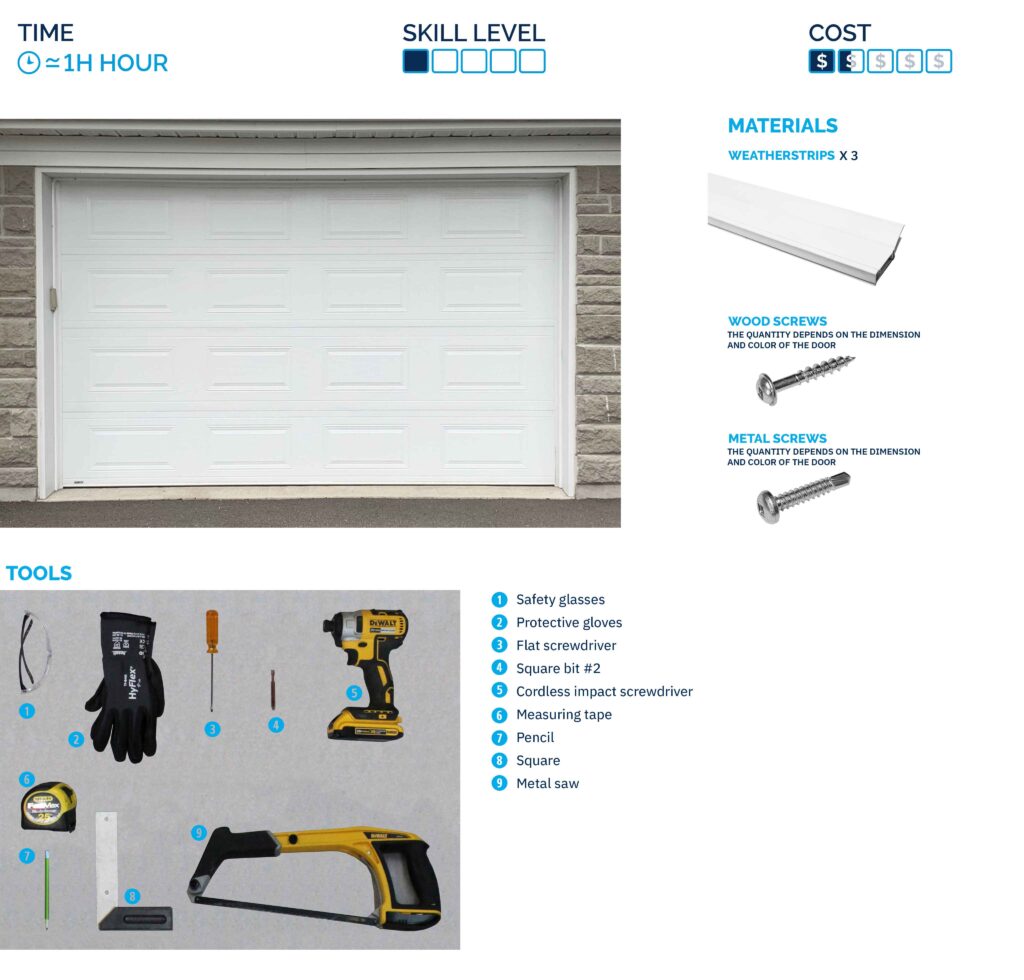
To do so, follow these 3 simple steps. Plan about 45 minutes and equip yourself with Garex weatherstripping lubricant.

1. Using a rag, clean the weatherstripping with mild soap. Be sure to clean each blade and between the blades.
2. Start with the top weatherstripping and spray the lubricant on each blade.
3. Do the same for the weatherstripping on each side.
If you do regular maintenance on your perimeter weatherstripping and suddenly there is a draft coming from your garage door, perhaps shabby weatherstripping is the cause. It is quite normal for these important door components to degrade over time as they are exposed to the outdoor elements 365 days a year.
Fortunately, you can replace the perimeter weatherstripping yourself, and Garex has some simple instructions on how to make it happen.
4 STEPS TO REPLACE PERIMETER WEATHERSTRIPPING
1. REMOVING THE OLD WEATHERSTRIPPING
Remove the screw cover with a small flat screwdriver.
Use a cordless hammer drill and bit to loosen the screws.
Take off all worn weatherstripping.Take the opportunity to clean the aluminum casing before installing the new weatherstripping.

2. MEASURING AND CUTTING THE NEW WEATHERSTRIPPING FOR THE TOP
Make sure all old weatherstripping is fully removed before taking measurements. Start with the top of the door frame. Using measuring tape, measure the width of the top opening.
Then, measure the length of the weatherstripping from the extremity of the piece to be cut. Note that the measurements must be precise for a secure installation which will provide a better seal between your garage and the outdoors and limit drafts.

Double-check that your measurement is correct, then use a pencil to mark the length.
Draw a perpendicular line using a set square. This step will help you in cutting the weatherstripping.

Cut the rigid section of the weatherstripping with a saw following the line you just traced.For a professional finish, cut the flexible PVC planks with scissors.

3. INSTALLING THE NEW WEATHERSTRIPPING ON THE TOP OPENING
Close your garage door. Position the top weatherstripping approximately 1/2” from the door. The blades should rest on it, not rest on the door. Weatherstripping installed too close to the door will make it difficult to open the door and prematurely damage the paint.
Check that the blades of your weatherstripping are seated approximately 1/2” from the door. An optimal installation should look like the picture below.
For light-colored weatherstripping, space the positioning of the screws, i.e. 1 hole out of 2 (or 1 screw per foot). For dark-colored weatherstripping, Garex recommends putting a screw in every hole.
Position the screw cover over the opening, and gently push it to install it.

4. INSTALLING THE NEW WEATHERSTRIPPING ON THE SIDE OPENINGS
For side weatherstripping, measure EACH SIDE from the floor to the top of the opening. Measure, mark and cut the new side weatherstripping.
Install the side weatherstripping from top to bottom, and add the screw cover as explained earlier in the top weatherstripping instructions.

To complete the installation, Garex recommends you add a silicone sealant to make the junctions between the weatherstripping airtight. And voilà! Your garage will certainly be draft-free with new perimeter weatherstripping!
IF IN DOUBT, TRUST A GAREX EXPERT
You have recently changed your garage door perimeter weatherstripping and do regular maintenance on it, but your garage windows still fog up frequently! Read our blog post on 5 Steps to Reduce Condensation in Your Garage to get a few clues as to why that may be.
However, if you properly heat your garage in winter but the room is still too cold, we recommend that you call in one of our professionals. Our experts are backed by more than 30 years of Garex experience, and they will be able to advise you.
Contact us today or request a quote online!

